


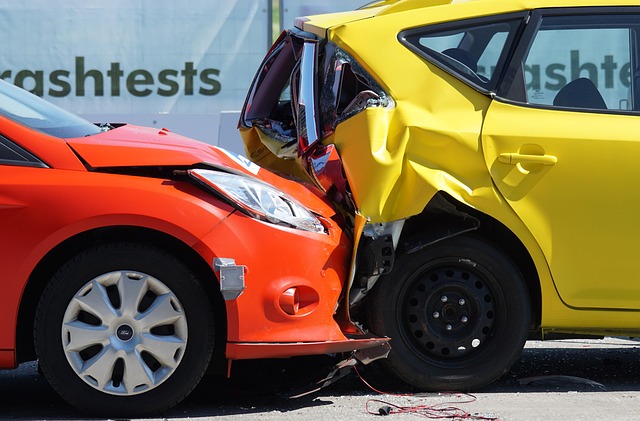
Base coat clear coat repairs are crucial for vehicle upkeep, addressing damage to both color-providing base coat and protective clear coat. By employing techniques like sanding, priming, and matching colors, these repairs restore vehicles to original condition, preventing further deterioration. Choosing the right repair solutions, whether DIY kits or professional-grade products, is key to excellent outcomes. Reputable auto body shops offer expertise and high-quality products for tailored, long-lasting aesthetic enhancements. The meticulous process involves thorough preparation, sanding, priming, and applying base coat and touch-up paint, with inspection and touch-ups as needed.
“Uncover the secrets to achieving flawless car paint restoration with our comprehensive guide to base coat and clear coat repairs. Understanding these crucial layers is key to enhancing your vehicle’s aesthetics and protecting its finish. We’ll explore why choosing the right repair solutions matters, offering a step-by-step approach for successful restoration. From identifying damage to final touches, learn how to master base coat clear coat repair, ensuring long-lasting results that rival factory finishes.”
- Understanding Base Coat and Clear Coat Repairs
- Choosing the Right Repair Solutions for Optimal Results
- Step-by-Step Guide to Successful Base Coat Clear Coat Restoration
Understanding Base Coat and Clear Coat Repairs

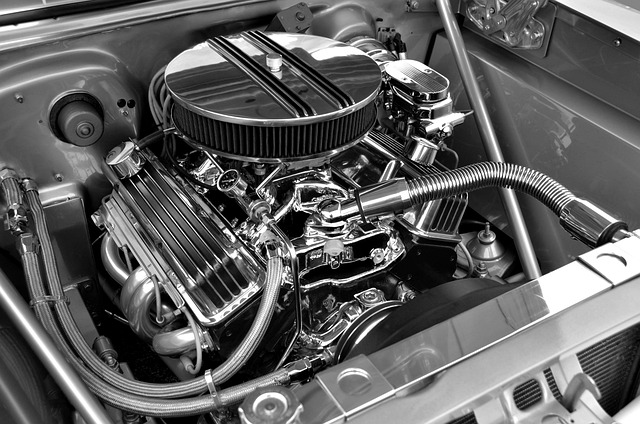
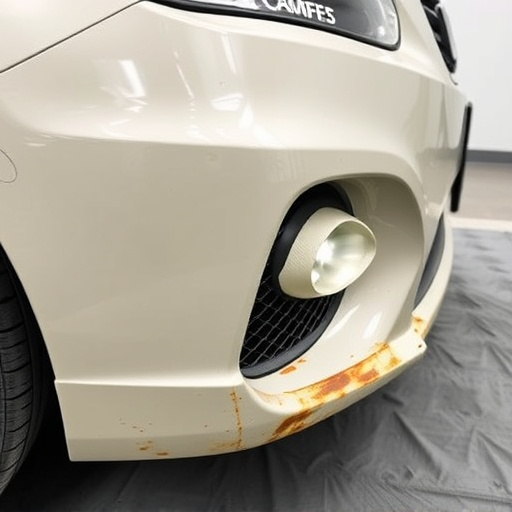
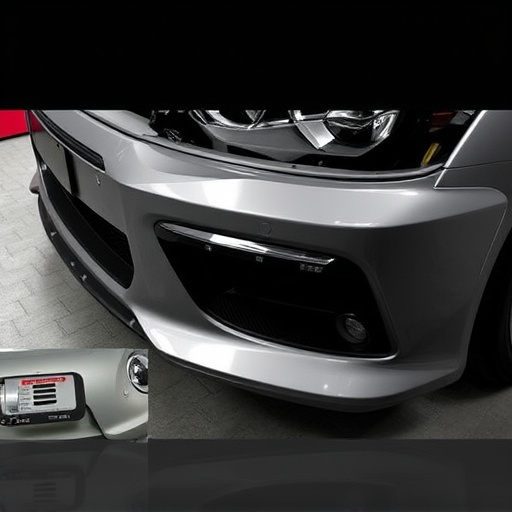
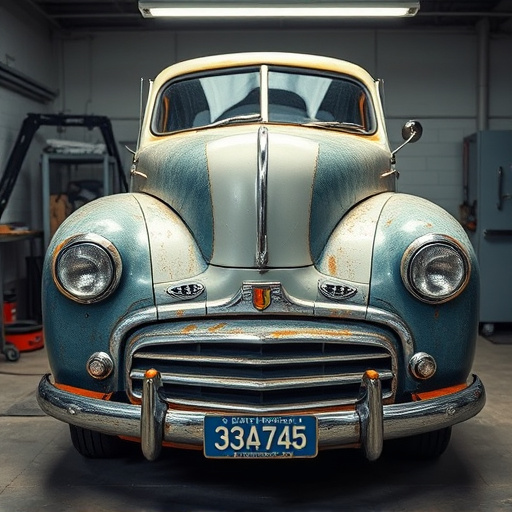
Understanding Base Coat and Clear Coat Repairs is essential for maintaining the integrity and aesthetics of any vehicle. Base coat clear coat repair solutions are designed to address damage to both the base coat, which provides color and protection, and the clear coat, responsible for enhancing the finish and providing a protective layer against environmental factors. These repairs are crucial in restoring the vehicle’s original appearance, preventing further deterioration, and ensuring long-lasting results.
Whether it’s a small dent, scratch, or more significant damage, base coat clear coat repair involves precise techniques to match the existing color and texture seamlessly. This process often includes sandbling, priming, and applying new coats of paint to restore the auto frame repair to its original condition. Even minor repairs can significantly impact the vehicle’s overall value, especially when combined with top-notch tire services and auto glass repair, ensuring the car looks as good as new while enhancing safety features.
Choosing the Right Repair Solutions for Optimal Results
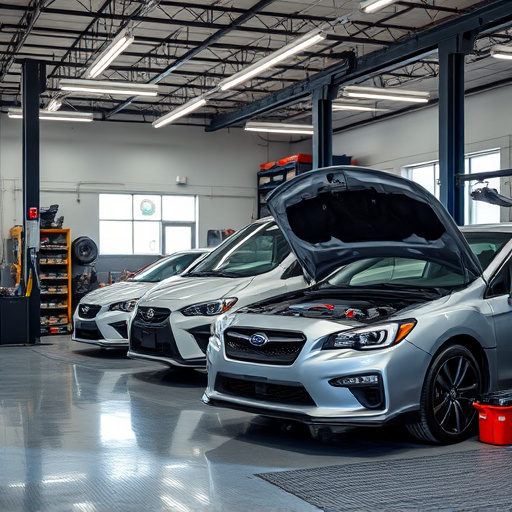
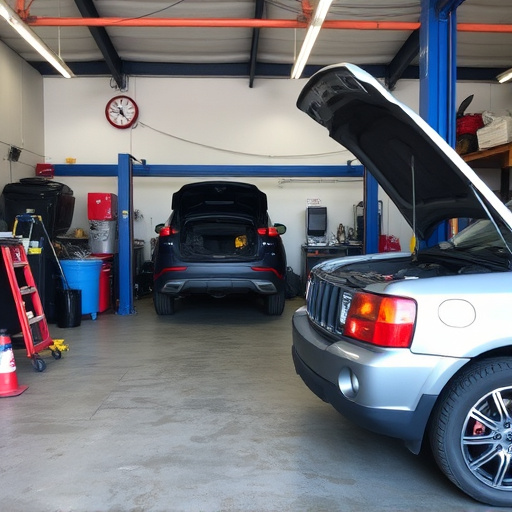
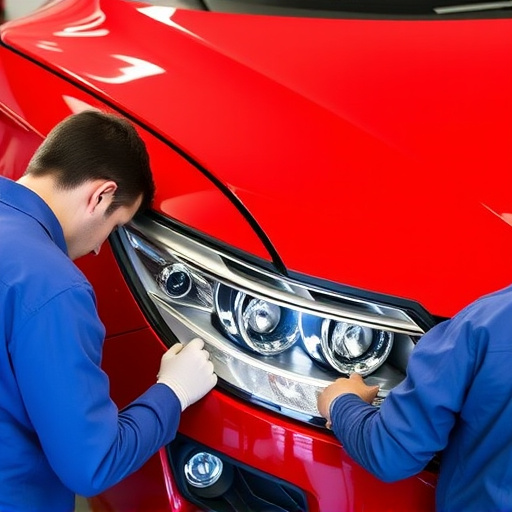
Selecting the ideal base coat clear coat repair solutions is pivotal for achieving flawless results on your automotive project. The market offers a plethora of options, from DIY kits to professional-grade products. For optimal outcomes, consider factors like the extent of damage, the vehicle’s make and model, and your skill level. A reputable auto body shop can provide expert advice, ensuring you choose solutions tailored to your specific needs.
Opting for specialized body shop services, particularly those catering to tire services and auto repair, can be advantageous. These establishments often have access to high-quality repair products and the expertise required to handle intricate base coat clear coat repairs. Their experience in restoring vehicles to like-new conditions is invaluable, guaranteeing not just effective fixes but also long-lasting results that enhance your vehicle’s overall aesthetics.
Step-by-Step Guide to Successful Base Coat Clear Coat Restoration
Restoring a vehicle’s base coat clear coat involves a meticulous process that requires both skill and patience. Here’s your step-by-step guide to achieving successful restoration:
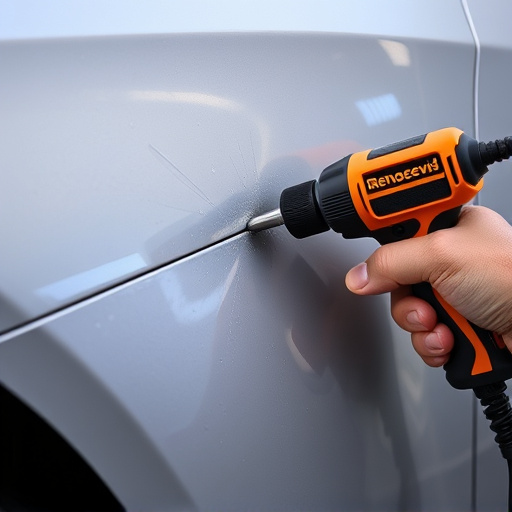
1. Preparation: Begin by thoroughly cleaning the damaged area, removing any dirt, debris, or existing repair compounds. This ensures an even surface for application. Next, inspect the base coat for any pitting, peeling, or other defects and make necessary repairs using a suitable filler compound. Once the area is ready, mask off surrounding areas to prevent overspray during the repair process.
2. Sand and Primer: Lightly sand the prepared area to create a slightly textured surface that enhances paint adhesion. Use a fine-grit sandpaper to avoid damaging the clear coat below. After sanding, wipe away dust and debris with a damp cloth. Apply an automotive primer specifically designed for base coat restoration. This step ensures proper bonding between the repair compound and the base coat, creating a solid foundation for the next layers.
3. Base Coat Application: Mix and apply the base coat using a professional-grade paint gun or sprayer. Ensure even coverage, paying close attention to the edges and corners of the repaired area. Allow the base coat to dry as per the manufacturer’s instructions before moving on.
4. Clear Coat Repair: Following the same meticulous approach, repair any clear coat damage using high-quality clear coat touch-up paint. Match the color precisely for a seamless finish. Once dry, sand lightly to create a subtle texture and apply another layer of clear coat to ensure durability and protection.
5. Final Touches: After the final clear coat has cured, remove all masking materials. Inspect your work carefully, making any necessary touch-ups. Ensure the surface is smooth, free from imperfections, and matches the original finish perfectly.
For optimal results, consider seeking guidance from a collision repair shop specializing in paintless dent repair techniques, as they can provide valuable insights tailored to specific car models.
In conclusion, mastering base coat clear coat repairs is a game-changer for maintaining vehicle aesthetics. By understanding the processes and choosing the right solutions, you can achieve optimal results. Following a structured guide ensures a successful restoration, leaving your car with a vibrant, like-new finish. Remember, proper care and timely intervention are key to preserving the beauty of your vehicle’s paintwork.