Proper surface preparation for base coat clear coat repair includes cleaning and sanding, filling gaps if needed, and priming. Evenly apply the base coat and let it dry. Add a clear coat layer to protect and enhance the finish, matching base coat precisely for a durable, aesthetic result that preserves vehicle value.
Looking to restore your vehicle’s sleek finish? Mastering base coat clear coat repair is essential for both aesthetics and protection. This step-by-step guide covers everything from preparing the damaged surface to achieving a professional-looking finish.
First, meticulously prepare the area by cleaning and sanding. Then, apply a thin layer of base coat, allowing it to dry completely. Finally, add a clear coat layer for maximum durability and a vibrant, durable shine.
- Prepare Surface for Base Coat Clear Coat Repair
- Apply Base Coat and Allow Drying
- Add Clear Coat Layer for Protection and Finish
Prepare Surface for Base Coat Clear Coat Repair
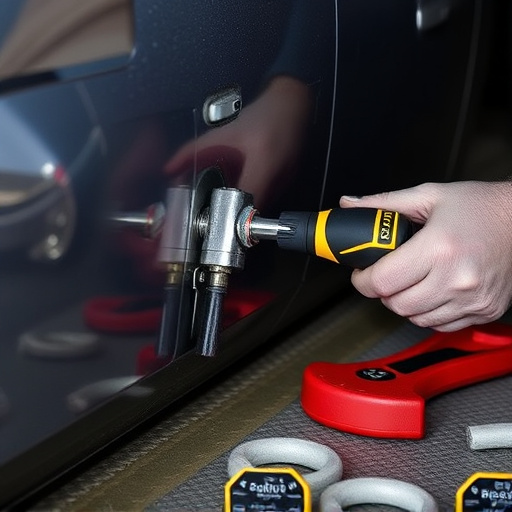
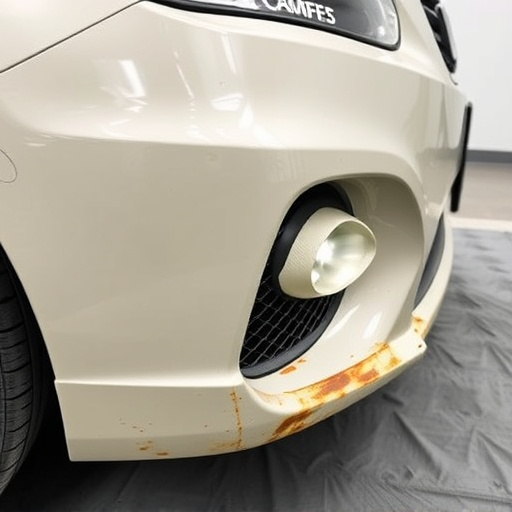
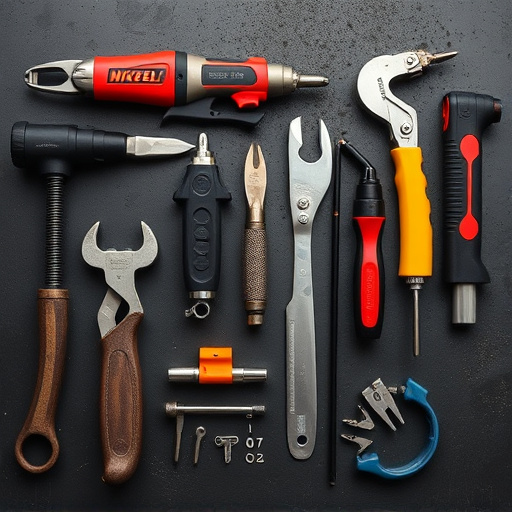
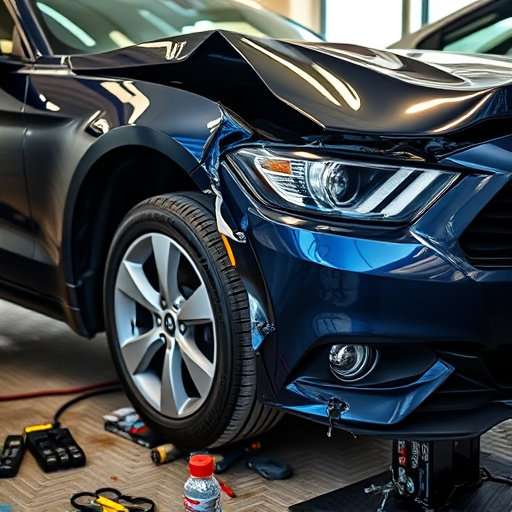
Before applying base coat clear coat repair, ensuring the surface is properly prepared is a crucial step. This involves thoroughly cleaning the damaged area to remove any dirt, grease, or existing paint debris using a degreaser and a soft cloth. Sanding the surface gently with fine-grit sandpaper helps create a rough texture that aids in better adhesion of the repair coating. It’s important to use a wet/dry method for sanding to avoid leaving behind any sharp edges that could affect the final finish.
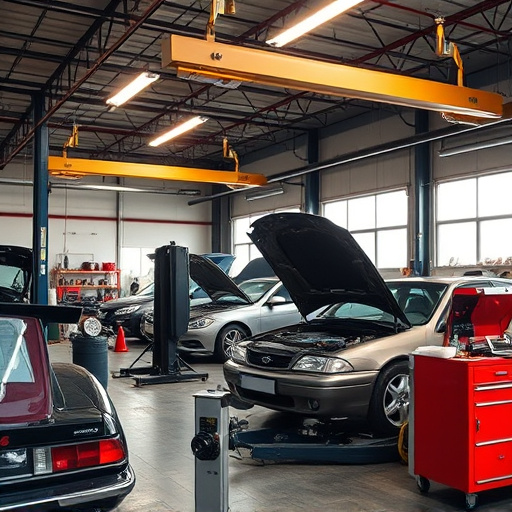
Once the surface is clean and smooth, a primer coat may be necessary, especially if there are gaps or holes caused by the original damage. This step acts as a bridge between the damaged area and the base coat clear coat, enhancing adhesion and ensuring an even application of the repair coating. Using high-quality collision repair services for both sanding and priming ensures that your vehicle body repair is done meticulously, resulting in a seamless and durable finish.
Apply Base Coat and Allow Drying
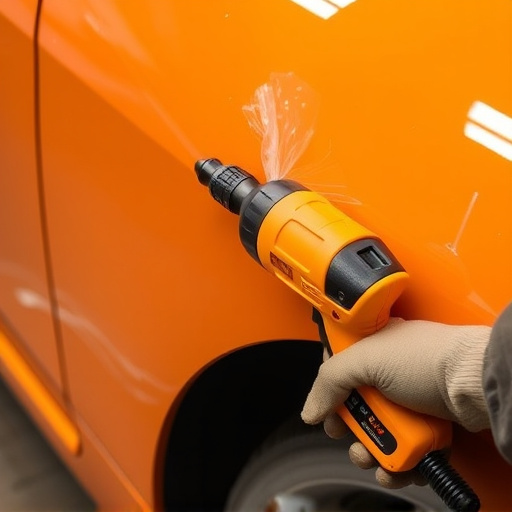
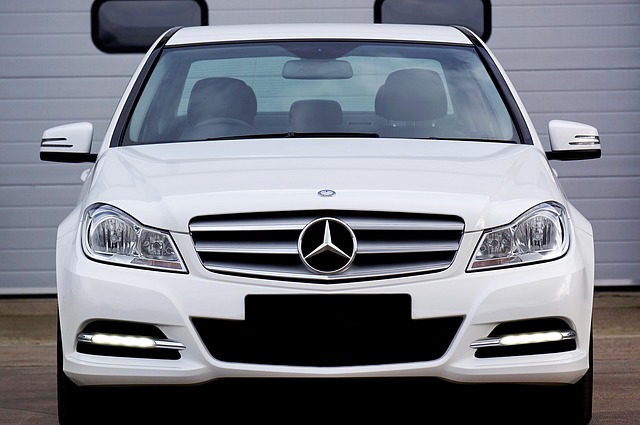
Applying the base coat is a crucial step in any clear coat repair process. It serves as the foundation for the topcoat and ensures an even blend. After carefully preparing the damaged area, the base coat is applied with a thin, even layer. This can be done using a spray gun or a brush, depending on the extent of the dent repair needed. Once applied, the base coat must be allowed to dry thoroughly before proceeding to the next stage. Drying times vary based on environmental conditions and the specific products used, so it’s essential to check the manufacturer’s instructions for accurate timing.
During the drying process, you’ll notice the base coat hardening, creating a smooth surface ready for the clear coat application. This step is vital as it guarantees a seamless fusion between the base and top layers, ensuring the longevity of the vehicle paint repair or dent repair work. A properly dried base coat forms an essential barrier against elements that could affect the final finish.
Add Clear Coat Layer for Protection and Finish
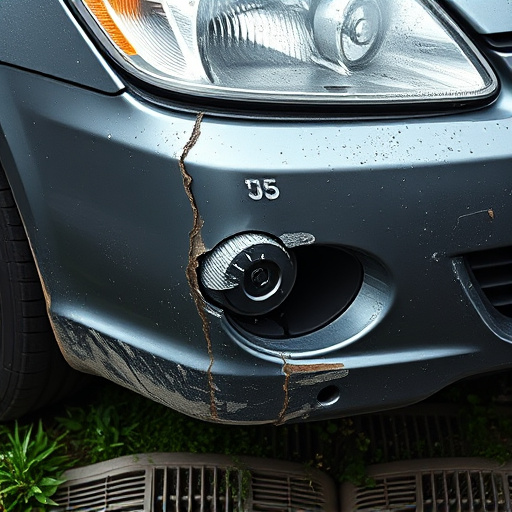
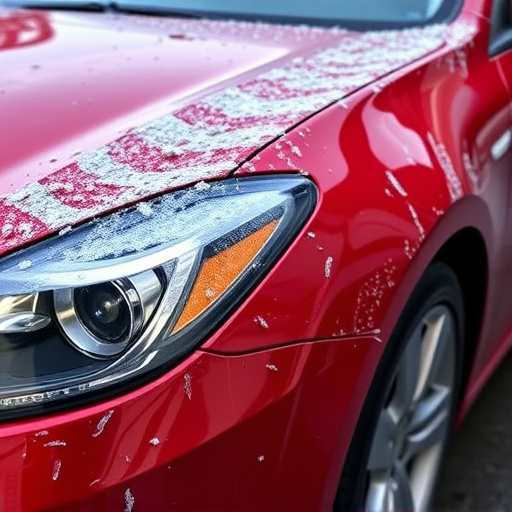
Applying an additional clear coat layer is a crucial step in base coat clear coat repair, as it enhances both protection and the final finish of your vehicle. This transparent topcoat serves as a barrier against environmental elements like UV rays, harsh weather conditions, and chemical substances that can degrade the paint job over time. By adding this protective layer, you’re not only safeguarding the vibrant colors and smooth texture but also extending the lifespan of your vehicle’s bodywork.
In a professional auto maintenance or body shop service, technicians carefully select clear coat products tailored to match the vehicle’s base coat precisely. This meticulous process ensures an invisible bond between the layers, creating a seamless and durable finish. The result is a gleaming, protective layer that not only preserves the aesthetics of your vehicle but also helps maintain its resale value by retaining the original look and feel of the paintwork.
Proper base coat clear coat repair not only restores damaged finishes but also ensures your vehicle retains its protective coating. By meticulously preparing the surface, applying the base coat, and adding a clear coat layer, you can achieve a seamless, durable finish that protects against future damage. Remember, each step in the process is crucial for achieving optimal results with your base coat clear coat repair.