

Base coat and clear coat, crucial components of vehicle finishes, play a dual role in damage restoration. Base coat (primer) strengthens the car body against rust, while clear coat protects and enhances color and gloss. Auto collision centers employ advanced base coat clear coat repair techniques, using specialized products and tools to restore vehicles' aesthetics and integrity. Choosing the right repair solutions, understanding modern finishes, and relying on professional expertise are key to successful repairs. The meticulous process involves cleaning, sanding, priming, applying base and clear coats, ensuring seamless integration with original paintwork for optimal protection and appearance.
“Uncover the secrets to flawless vehicle restoration with our comprehensive guide on base coat and clear coat repairs. This article navigates the intricate processes, empowering car enthusiasts to achieve professional-grade results. We demystify the selection of ideal repair solutions, ensuring optimal outcomes. From understanding the fundamentals to executing precise steps, learn how to transform damaged finishes into glossy, like-new surfaces. Master the art of base coat clear coat repair and breathe new life into your vehicle’s exterior.”
- Understanding Base Coat and Clear Coat Repair Processes
- Choosing the Right Repair Solutions for Optimal Results
- Step-by-Step Guide to Effective Base Coat Clear Coat Repairs
Understanding Base Coat and Clear Coat Repair Processes

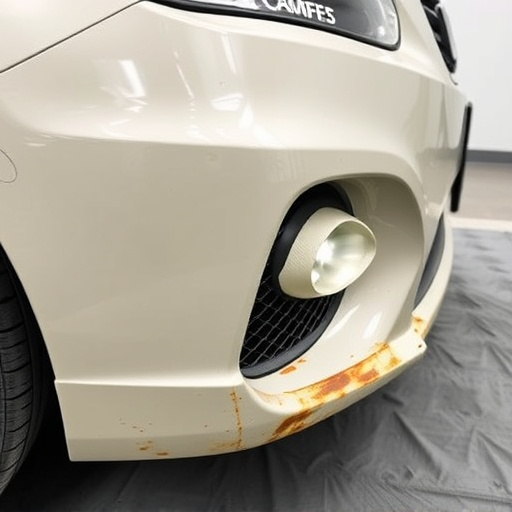
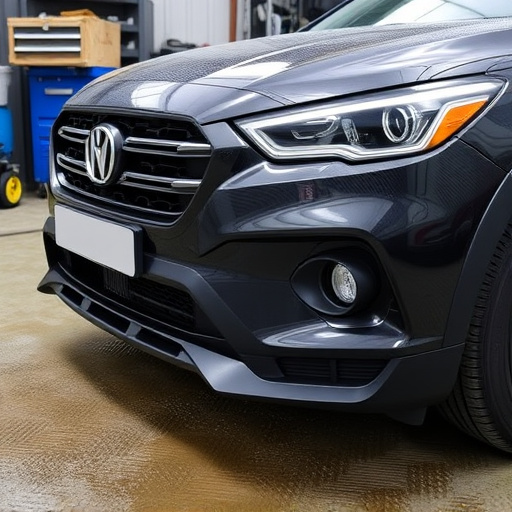
Understanding the repair processes for base coat and clear coat is essential when addressing any damage to a vehicle’s finish. Base coat, also known as primer, serves as a critical foundational layer, providing a smooth surface and adhering the final paint job securely to the car body. It’s often applied immediately after preparation of the damaged area, creating a strong bond that prevents rust and corrosion.
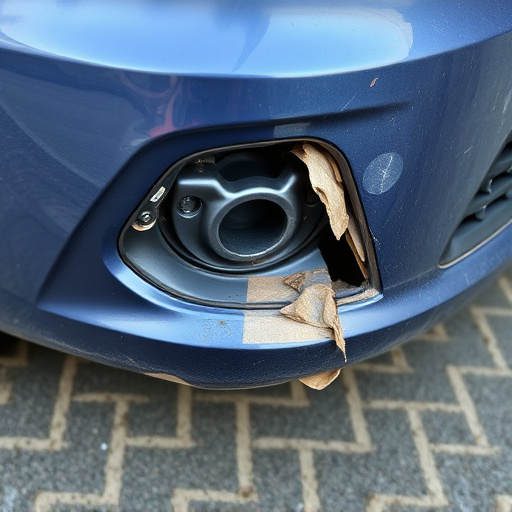
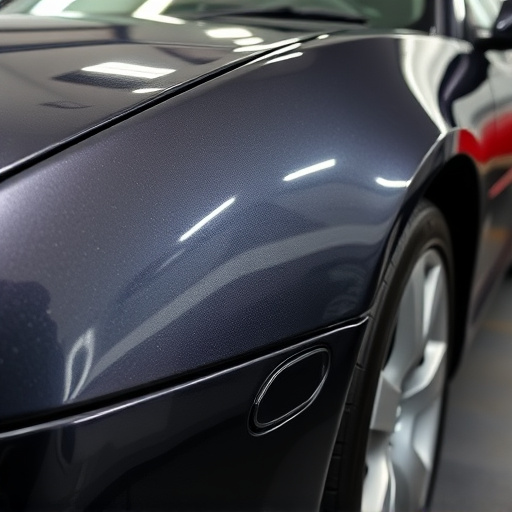
Clear coat, on the other hand, is the topmost layer designed to protect the base coat and enhance the color and gloss of the paint. Its transparency allows for a seamless fusion with the base coat, ensuring an indistinguishable repair. When dealing with damage such as scratches, chips, or minor dents, professionals at an auto collision center offer expert car body restoration services, utilizing advanced techniques like base coat clear coat repair to restore the vehicle’s original appearance. Car paint services that employ these methods not only fix aesthetic issues but also safeguard the long-term integrity of the car’s exterior finish.
Choosing the Right Repair Solutions for Optimal Results

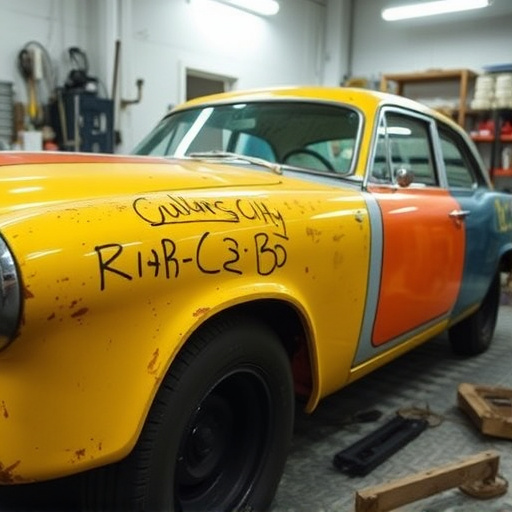
Choosing the right repair solutions is key to achieving optimal results with base coat clear coat repairs. When a vehicle experiences damage, whether from a car collision or minor scuffs, selecting the appropriate products and techniques becomes paramount. The process involves understanding the specifics of base coat and clear coat materials used in modern automotive finishes. Professional auto repair shops equip themselves with advanced tools and knowledge to handle these intricate repairs effectively.
For accurate restoration, consider the expertise and reputation of your chosen auto repair shop. Skilled technicians are adept at assessing the extent of damage, ensuring proper preparation before applying new coatings. This meticulous approach prevents future issues and maintains the vehicle’s aesthetic appeal, transforming a damaged fender or panel into a seamless, like-new surface.
Step-by-Step Guide to Effective Base Coat Clear Coat Repairs
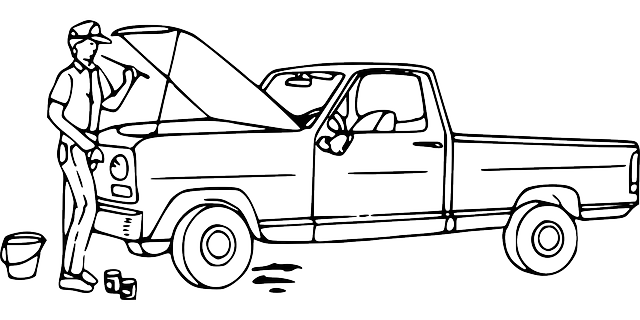
Repairing a damaged base coat clear coat requires a systematic approach to achieve professional results. Here’s a step-by-step guide to help you navigate this process, ensuring your vehicle retains its sleek and protective finish.
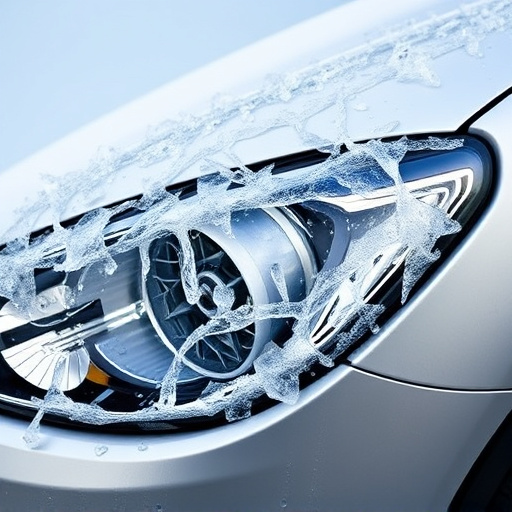
1. Prepare the Area: Begin by thoroughly cleaning the affected area with mild soap and water. Dry it completely to prevent any moisture interference during repair. Remove any loose debris or contaminants that might affect adhesion.
2. Sand and Etch: Lightly sand the damaged area using fine-grit sandpaper to create a slightly rough surface, which aids in bonding. Etch the area with an appropriate etcher to open the paint’s pores, enhancing adhesion. Ensure even sanding for a smooth transition between repair and original paint.
3. Prime the Surface: Apply a high-quality primer designed specifically for base coat clear coat repairs. This step is crucial as it prepares the surface for painting, ensuring better color match and adhesion. Allow the primer to dry completely.
4. Mix and Apply Base Coat: Mix your chosen base coat with the manufacturer’s recommended thinner. Apply an even layer over the primed area using a paint sprayer or brush. Ensure proper coverage without drips or runs.
5. Let it Cure: Follow the product instructions for drying time. Once cured, inspect the repair for any imperfections. If needed, lightly sand and re-apply base coat until a smooth finish is achieved.
6. Final Clear Coat Application: Apply the clear coat, following the same mixing and application techniques as the base coat. Ensure even coverage for optimal protection and a seamless finish that blends seamlessly with your vehicle’s original paintwork.
In conclusion, mastering base coat clear coat repairs is a game-changer for maintaining vehicle aesthetics. By understanding the repair processes, selecting suitable solutions, and following a structured guide, you can achieve optimal results. Remember that choosing the right products and techniques is key to ensuring longevity and a vibrant finish. With these steps, you’re well-equipped to tackle base coat clear coat repairs effectively.