Identifying and repairing base coat clear coat damage on vehicles is crucial for auto body work. Signs include fades, chips, cracks, and discoloration caused by environmental exposure or accidents. Proper identification determines the extent of the issue, from minor aesthetic concerns to structural problems. Repair products range from scratch kits to professional-grade solutions for severe damages. This guide emphasizes a systematic approach: inspect, prepare, etch, apply touch-up paint in thin layers, sand, and buff for a glossy finish, ensuring effective restoration and maintaining vehicle aesthetics through proper maintenance practices.
“Uncover the secrets to flawless finishes with our comprehensive guide to base coat clear coat repair solutions. Understanding the intricacies of common damage and choosing the right products is key. Learn how to navigate this process effectively, from identifying issues to selecting top-tier repair tools.
This step-by-step approach ensures professional-grade results, restoring your vehicle’s exterior to its former glory. Master the art of base coat clear coat repair and embrace a like-new finish that reflects your pride in ownership.”
- Understanding Base Coat Clear Coat Damage
- Choosing the Right Repair Products
- Step-by-Step Guide to Effective Repairs
Understanding Base Coat Clear Coat Damage
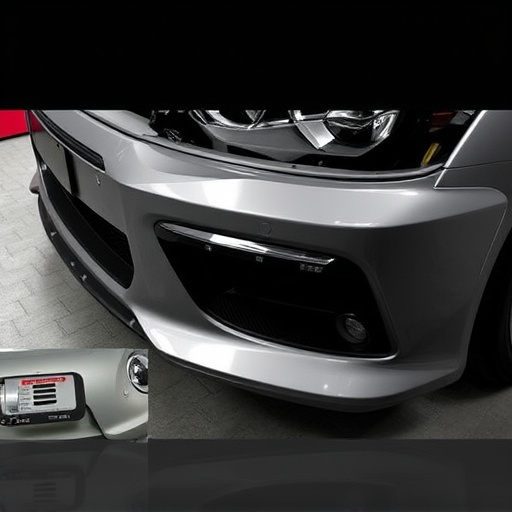
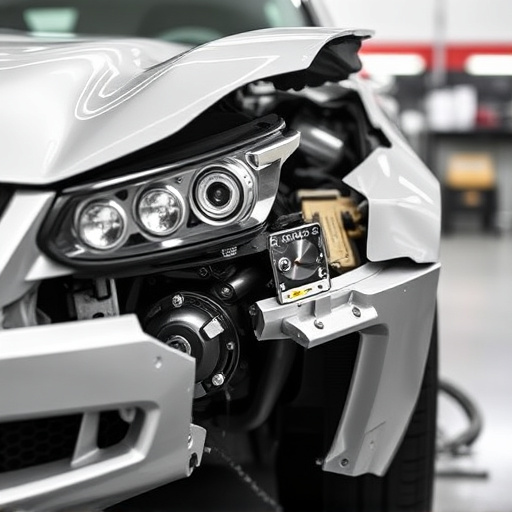
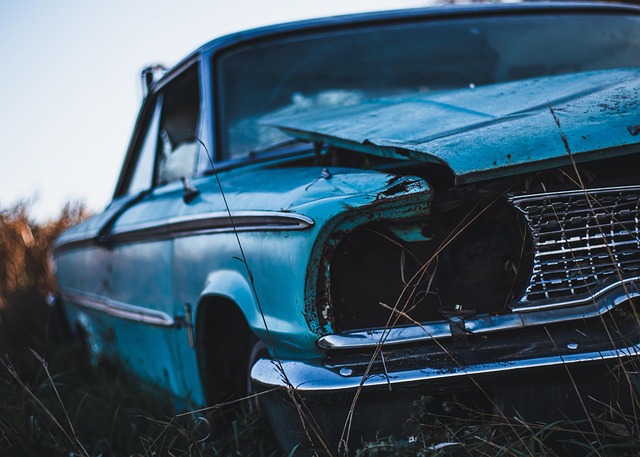
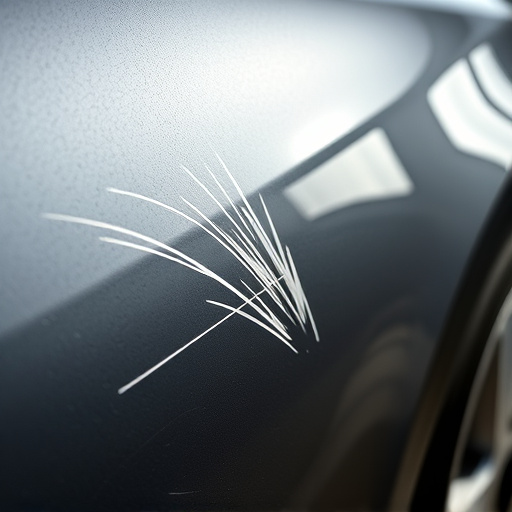
Understanding Base Coat Clear Coat Damage involves recognizing the subtle signs that indicate its deterioration. Over time, this protective layer can sustain wear and tear from various factors like environmental exposure, accidental damage, or poor initial application. Fades, chips, cracks, and discoloration are common indicators that prompt owners to seek base coat clear coat repair solutions.
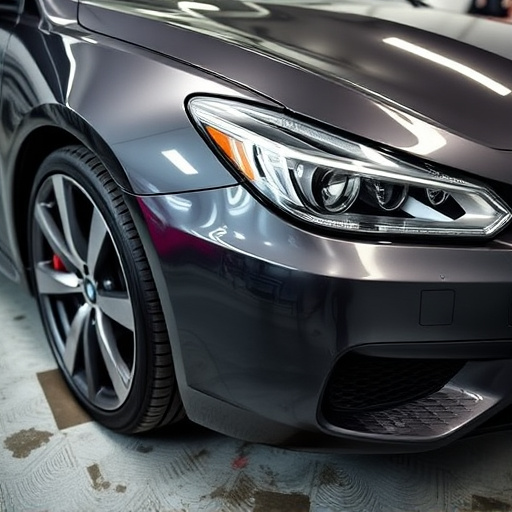
Proper identification of the issue is crucial for effective auto body work. Damage may occur at the interface between the base coat and clear coat, or it might be confined to one layer alone. These defects can range from minor aesthetic concerns to more significant structural problems. Fortunately, car body restoration techniques offer advanced solutions to fix these issues, ensuring vehicles regain their original gloss and protective capabilities.
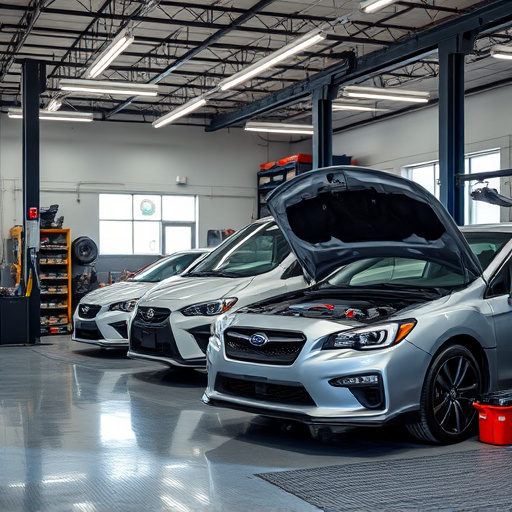
Choosing the Right Repair Products
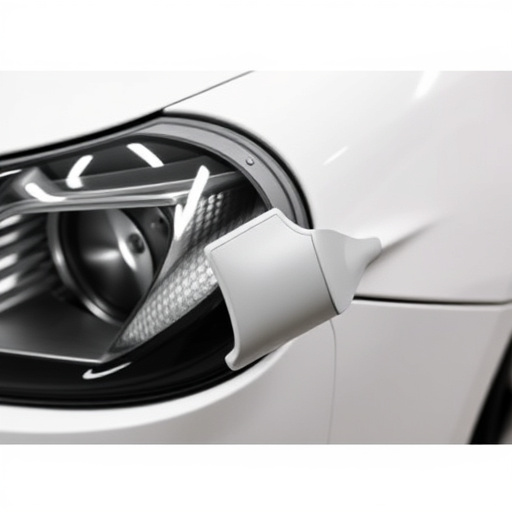
When it comes to selecting the ideal repair products for base coat clear coat restoration, understanding your needs is paramount. Different materials and finishes require specific solutions, so choosing the right tools is essential. For instance, a car scratch repair kit may include a range of abrasives, primers, and topcoats designed to match the vehicle’s original finish. These kits are generally suitable for minor scuffs and scratches on clear coats.
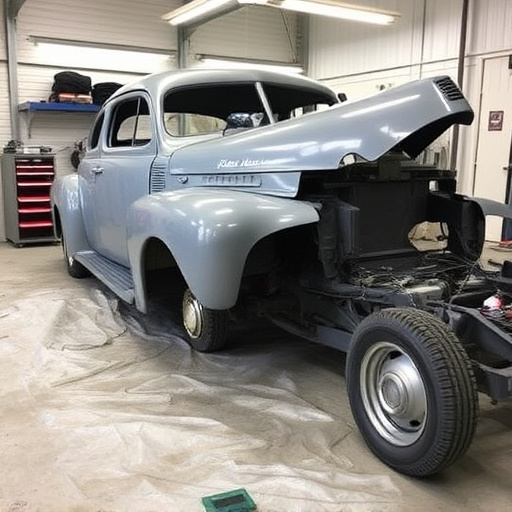
On the other hand, more severe damages, especially those involving deep chips or gouges in the base coat, might necessitate a more comprehensive collision repair approach. In such cases, professional-grade repair solutions with advanced adhesives and precision tools are recommended. Reputable car repair shops often carry a diverse range of products catering to various levels of damage, ensuring customers can achieve a seamless and durable base coat clear coat repair.
Step-by-Step Guide to Effective Repairs
Repairing a damaged base coat clear coat finish requires a systematic approach to ensure optimal results. Here’s your step-by-step guide to effective base coat clear coat repair:
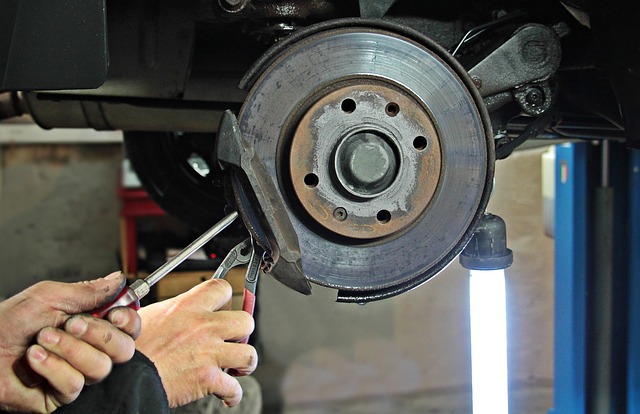
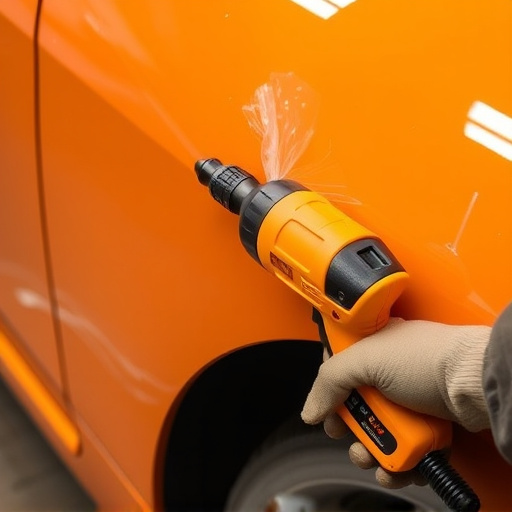
1. Inspect and Prepare: Begin by thoroughly inspecting the damaged area. Remove any loose debris or particles from the scratch or dent using a fine-grit sandpaper. This creates a clean surface for successful adhesion of the repair materials.
2. Etch the Surface: Next, use an etch primer to slightly roughen the base coat, enhancing its ability to bond with the clear coat. This step is crucial for achieving a strong, lasting repair. Allow the etch primer to dry completely according to the manufacturer’s instructions.
3. Apply Touch-Up Paint: Select the exact shade of touch-up paint that matches your vehicle’s original finish. Apply thin, even layers, allowing each coat to dry thoroughly between applications. This meticulous process ensures a seamless blend with the surrounding clear coat.
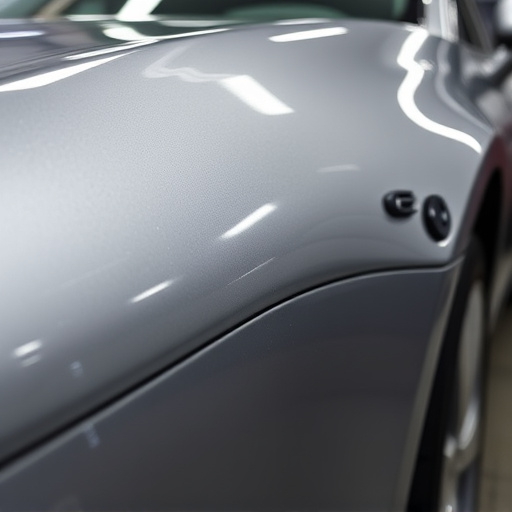
4. Smooth and Buff: After the final coat has dried, use fine-grit sandpaper to gently smooth the repaired area, following the contour of the vehicle’s surface. Then, buff the area with a microfiber cloth to achieve a glossy finish that matches the rest of your car’s exterior in terms of both appearance and texture, demonstrating expert auto body repair skills.
Effective base coat clear coat repairs require patience and attention to detail. By following these steps, you can restore your vehicle’s sleek finish, maintaining its overall aesthetics through proper auto maintenance practices.
In conclusion, mastering base coat clear coat repair is a valuable skill for anyone looking to restore their vehicle’s paintwork. By understanding the damage, selecting the right products, and following a structured guide, you can achieve professional-looking results. Remember, proper care and regular maintenance will prevent future issues, keeping your car’s finish pristine and saving you from costly body shop repairs. With these steps, you’re equipped to tackle base coat clear coat repair head-on.